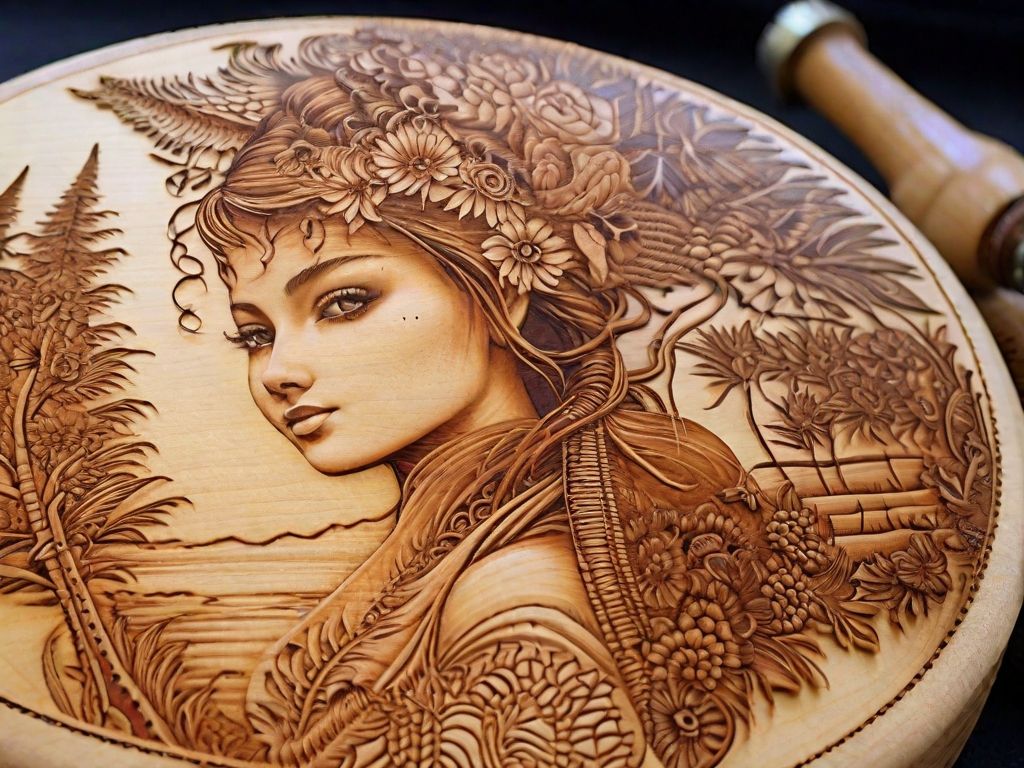
Pyrography, commonly known as wood burning art, transforms plain wood surfaces into intricate designs using a heated tool, and it’s a truly captivating way to make something special. It’s a very old technique, and in ancient China, they actually called it "fire needle embroidery." This art form lets you decorate wood or other materials with burn marks, all from the careful handling of a heated object, like a metal pen. It's a wonderful way to give items a personal touch and bring a rustic feel into your living space, you know?
This artistic wood burning is a creative pursuit that lets you make beautiful designs on wood. It involves burning or scoring material to create patterns or forms on a given piece. By changing the heat level and applying different amounts of push, you can get all sorts of effects. This guide is perfect for anyone just starting out and wanting to get into this fascinating activity, so.
You might be wondering how to begin with pyrography today, and that's a good question. We’ll cover what this art form is all about, what you might need to get started, some helpful ways to make your designs, and how to keep yourself safe while you work. We'll even talk about where to find some amazing learning materials and patterns, too it's almost.
Table of Contents
- What is Pyrography Wood Burning Art?
- The Allure of Wood Burning Art
- Getting Started with Pyrography
- Mastering Pyrography Techniques
- Safety First in Wood Burning
- Finishing Your Pyrography Masterpiece
- The Pyrography Community and Resources
- Frequently Asked Questions About Pyrography
What is Pyrography Wood Burning Art?
Pyrography, which many people simply call wood burning, is the art of decorating wood or other items with burn marks. It comes from carefully using a heated tool. This art form uses many ways to get different shading, surface feels, and looks. It involves putting burn marks and sometimes scoring marks onto a piece to create patterns or shapes. It’s pretty amazing how a simple tool can make such detailed pictures, you know?
This art can be used on many different kinds of materials, not just wood. While wood is a very common choice, you could also try leather, gourds, or paper, for example. The basic idea stays the same: you use heat to mark the surface. It’s a very versatile way to express yourself, and that’s a big part of its appeal.
The name "pyrography" itself tells a story. "Pyro" means fire, and "graphy" means writing or drawing. So, it's literally "writing with fire." This ancient way of making art has been around for a long time, transforming plain pieces of material into truly stunning works. It’s a rather timeless activity that still captures people's interest today.
The Allure of Wood Burning Art
Wood burning art, also known as pyrography, is a very unique and creative activity. People love it because it lets them personalize items and add a rustic feel to their homes. Just think about changing a plain piece of wood into something beautiful and eye-catching. It’s a really satisfying feeling, that.
It’s one of the easier ways to decorate any woodworking project, and it can truly make a piece stand out. The ability to create intricate designs and patterns on wood surfaces using heated tools is what makes it so captivating. There’s something special about working with a natural material and bringing it to life with your own designs. It’s a creative outlet that offers a lot of satisfaction, too.
Many people find a lot of peace in the process of wood burning. It takes focus and a steady hand, which can be very calming. Plus, the results are often quite striking, making it a great way to create gifts or special decorations for your own space. It’s a hobby that truly lets you release your inner artist and make art that you love, basically.
Getting Started with Pyrography
If you're looking to start with pyrography, there are some basic things to know. It’s about getting savvy with your pyrography tool and understanding the simple steps. This part will guide you through what you might need and how to begin making your own wood burning art. It’s not as hard as it might seem, so.
Essential Tools for Your First Burn
To begin creating wood burning art, you’ll need a heated tool, of course. A good starting point is a deluxe pyrography set. These sets often come with everything you could need to start making art. They are usually packaged neatly in a handy case, which is pretty convenient.
A typical set might include 27 different wood burning tips, which are also sometimes called points or nibs. These various tips let you make different lines, shapes, and textures. You might also find stamps, patterns, and stencils in a good set. These extras can be really helpful for getting started with your designs, too.
Beyond the tool itself, you’ll want some safety gear. Protecting your hands and lungs from the heat, smoke, and vapors that come with burning is a big deal. Things like pliers to change hot tips safely and perhaps a good mask for your lungs are very important. It’s always best to be prepared, naturally.
Choosing the Right Wood
One of the first questions many new artists ask is, "Wanna know the best wood for pyrography art?" It's a very good question because the type of wood you use makes a big difference in how your art turns out. Different woods burn differently, you see.
Some woods are much better for wood burning than others. Many experienced artists have shared their favorite woods in forums and books. Generally, lighter, softer woods with a fine grain tend to be easier to work with. They allow for smoother lines and more consistent shading. Some popular choices include basswood, birch, and maple. These woods tend to have less sap and a more even surface, which helps a lot.
It's worth exploring different types to see what you like best. What works well for one person might not be another’s favorite. Experimenting a little bit can help you find your own preferred materials for your art. You might find that some woods are just a little easier to get the look you want, anyway.
Design Transfer Basics
Once you have your wood and your tool, the next step is getting your design onto the wood. This is where design transfer methods come in. You can draw directly onto the wood, of course, but for more detailed or complex patterns, transferring a design is often easier. It helps ensure your lines are where you want them before you start burning.
There are a few simple ways to transfer designs. One common method is using graphite paper. You place the graphite paper between your design printout and the wood, then trace over your design. The graphite transfers the lines onto the wood, giving you a guide to follow with your burning tool. This is a very popular way to get started, you know?
Another way is to use stencils. Many pyrography sets include stencils, which can be great for beginners or for adding repeated elements to your work. You simply place the stencil on the wood and trace the shapes. Some artists even print their designs and then use heat to transfer the toner from the paper directly onto the wood, which is pretty neat. These methods help you get your ideas onto the wood ready for burning.
Mastering Pyrography Techniques
Learning the art of pyrography involves understanding various techniques. These techniques teach you a variety of tips and tricks to use in preparing and making your artwork. Every artist might develop their own method and individual style over time, which is really cool.
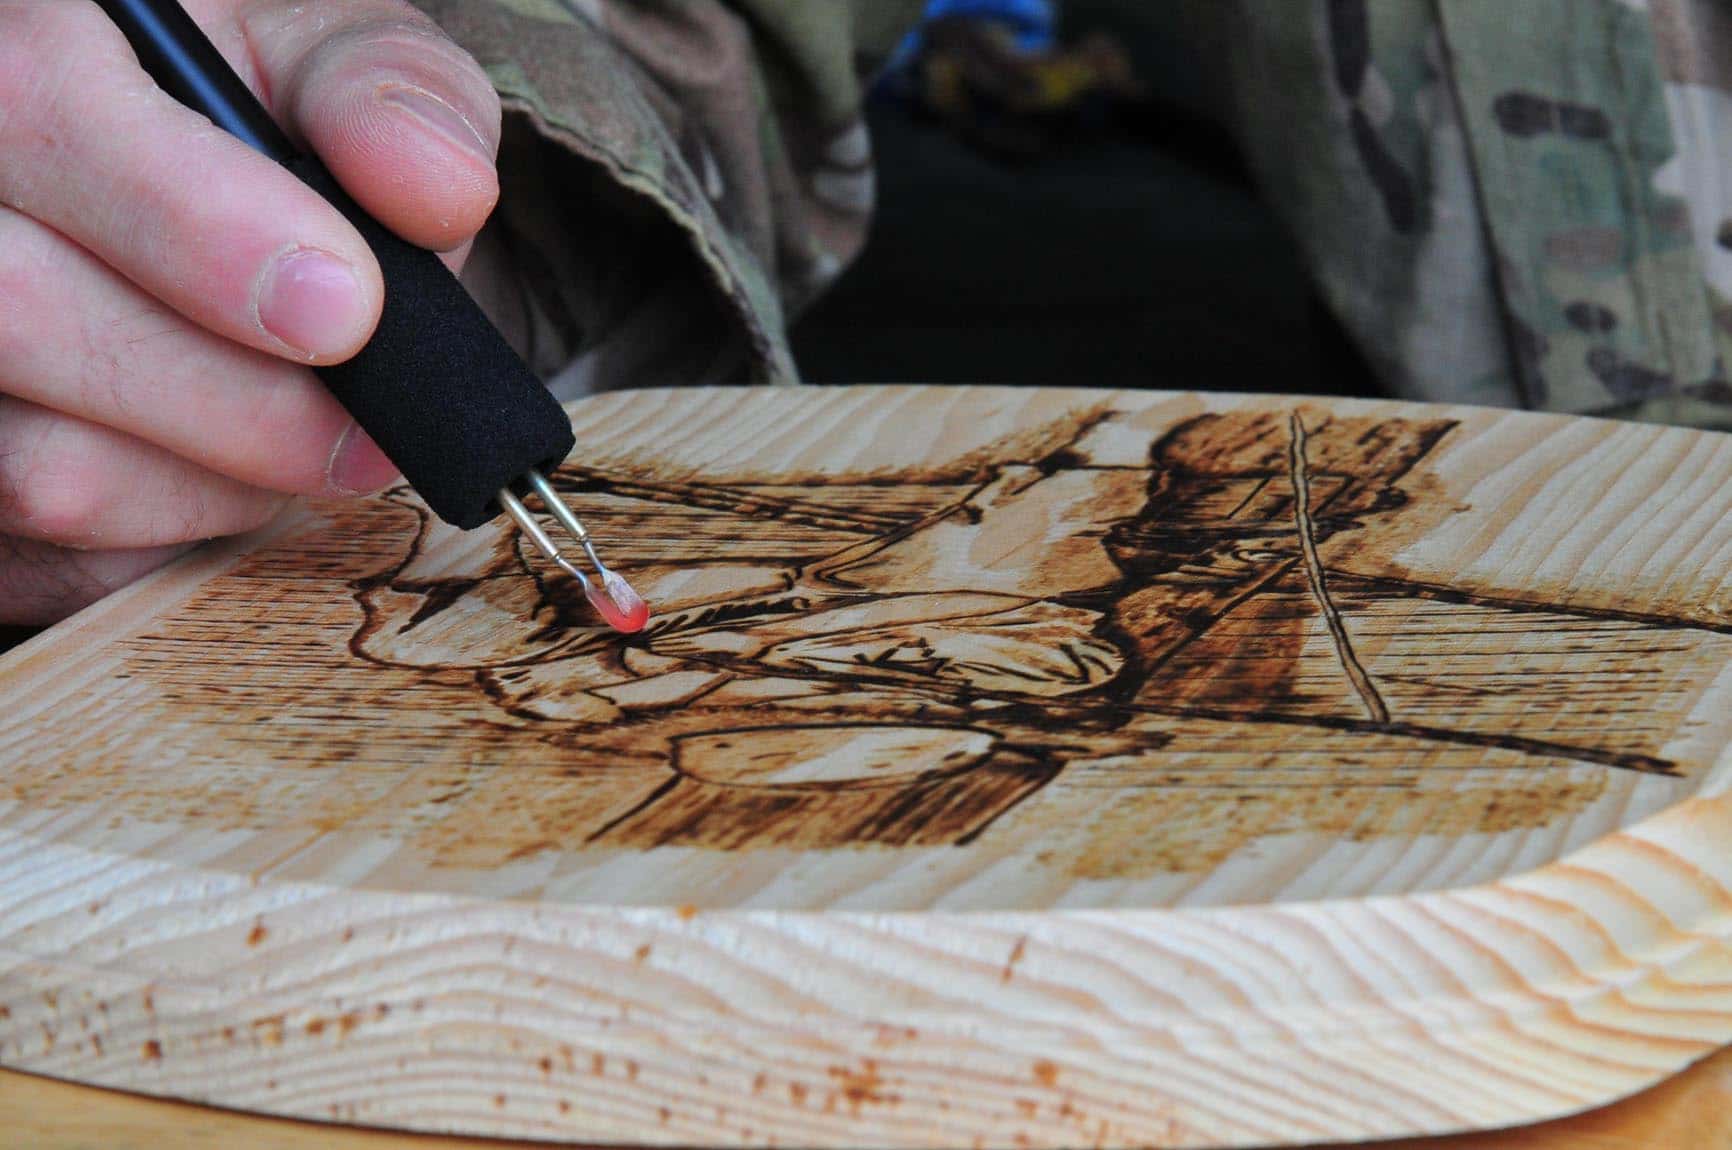
Temperature and Pressure Control
One of the most important things to get a handle on in pyrography is controlling the heat of your tool and how much pressure you apply. By adjusting the temperature, you can get different shades of brown, from very light to very dark. A higher temperature will typically create a darker mark, while a lower temperature will give you a lighter burn. It’s all about finding that sweet spot, you see.
Varying the pressure you put on the tool also changes the look of your lines and shading. A light touch can create delicate, wispy lines, while more pressure can make thicker, bolder marks. Combining temperature and pressure control lets you create a wide range of effects, giving your art depth and feeling. It’s a skill that comes with practice, naturally.
Some tools have adjustable temperature dials, which makes this control much easier. Others might require you to learn how long to hold the tip on the wood to get the desired darkness. Getting a feel for this combination is key to making your designs look just right. It’s a very hands-on process, too.
Shading and Textures
Pyrography, or wood burning, is an art form where getting good burns is part of the fun. It involves using many techniques to achieve different shading and textures. Shading adds depth and dimension to your work, making it look more realistic or interesting. You can create soft gradients or sharp contrasts, for example.
To create shading, you might use a light, sweeping motion with your tool, layering burns to build up color gradually. Different tips are also designed to help with shading, allowing you to cover larger areas smoothly or create fine details. It’s like painting, but with heat instead of paint, in a way.
Textures are another exciting part of wood burning. You can make the wood look rough, smooth, furry, or anything you can imagine by using different tips and techniques. Stippling (making tiny dots), cross-hatching (making intersecting lines), or even pressing specific stamps can create amazing textures. These elements really bring your wood burning art to life, you know?
Developing Your Unique Style
As you spend more time with wood burning, you’ll find yourself developing your own unique style. This is a very personal part of the art form. Your methods and preferences will likely change as you gain more experience. What feels good and looks good to you will start to emerge.
Some artists prefer very realistic images, while others lean towards abstract patterns or whimsical designs. Your choice of wood, tools, and the specific techniques you enjoy using will all contribute to your personal artistic voice. It’s a process of exploration and self-discovery, really.
Don't be afraid to experiment and try new things. See what happens when you use a different tip, or try a new type of wood. The more you practice and play around, the more confident you'll become in your own abilities and the more distinct your art will look. It’s about letting your creativity flow, pretty much.
Safety First in Wood Burning
Safety is a very big deal when it comes to pyrography. You are working with heat, smoke, and vapors, so protecting yourself is important. Always make sure you are working in a well-ventilated area to avoid breathing in smoke. Opening a window or using a fan can help a lot, for instance.
Wearing safety glasses can protect your eyes from any small debris or sparks. Also, remember that the tool tips get very hot, very quickly. To save your precious fingers from becoming your next pyrography canvas, always use pliers to gently twist new points in until they are firm when changing tips. Never touch a hot tip with your bare hands, obviously.
Having a heat-resistant surface to work on is also a good idea. This prevents damage to your table or workbench. Taking these simple safety steps means you can enjoy your wood burning art without worry. It’s about being smart and careful while you create, so.
Finishing Your Pyrography Masterpiece
Once you’ve finished burning your design, you might want to protect your work. Finishing your pyrography art helps keep it looking good for a long time. These finishes are great for wall art, jewelry, and other general pyrography projects. They add a layer of protection and can also make your art shine a little bit more.
It's best to have something that will protect your work from sunlight, especially if it will be near windows. Sunlight can fade wood and burn marks over time. There are various types of finishes you can use, such as clear sealants, varnishes, or waxes. Each one gives a slightly different look and level of protection.
Always make sure the finish you choose is safe to use with wood burning and that it won't change the color or clarity of your burn marks in a way you don't like. A little research on finishes can go a long way in making your piece last. It’s the final touch that really completes your artwork, you know?
The Pyrography Community and Resources
The world of wood burning art is full of people who love this craft, and there are many places to find help and inspiration. For instance, Wood Burning University offers one of the largest collections of resources for learning. They really empower creativity and an entrepreneurial spirit by giving comprehensive wood burning tutorials. It’s a pretty amazing resource for anyone wanting to learn more.
You can also find lots of free wood burning patterns online. Some are made by talented artists who share their work, which is really generous. These patterns can be a great starting point if you're feeling stuck on ideas or just want to practice your technique. Exploring these resources can help you test the limits of what you can create with your pyrography tool, too.
Joining fellow pyrographers in online groups or local clubs can be a fantastic way to share tips, get feedback, and find inspiration. There's a whole community out there ready to welcome you. Learn more about pyrography wood burning art on our site, and link to this page for more beginner tips. It’s a very supportive and creative group, apparently.
Frequently Asked Questions About Pyrography
Is pyrography hard to learn?
Pyrography is often considered one of the easier ways to decorate woodworking projects. While it takes some practice to get really good, the basics are quite simple to pick up. Learning how to control the temperature and pressure is key, and with a little patience, you can create some stunning designs. It’s a very rewarding art form, so.
What wood is best for pyrography?
For pyrography, lighter, softer woods with a fine grain are typically best. Basswood is a very popular choice among artists because it burns smoothly and evenly. Other good options include birch, maple, and poplar. These woods tend to have less sap, which helps avoid uneven burns and makes the process a bit cleaner, you know?
What do I need for pyrography?
To get started with pyrography, you'll need a heated wood burning tool, which might come with various tips for different effects. You'll also want some pieces of wood to burn on, of course. Safety gear, like pliers for changing hot tips and good ventilation, is very important. Patterns or stencils can also be helpful for your designs, too.