Imagine a quiet afternoon, perhaps with a gentle rain outside, and your little ones are happily creating, their hands busy with something soft and colorful. That, you know, is the magic of playdough. It offers hours of simple joy, encouraging imagination and fine motor skills. Many folks look for ways to make this wonderful stuff at home, and a common question pops up: can you make it without cream of tartar? Well, yes, you absolutely can! It's a common ingredient in many recipes, but it's not always in everyone's kitchen. So, if you're missing it, don't worry a bit.
Finding a reliable playdough recipe without cream of tartar can feel like a little treasure hunt. Sometimes, people worry if the dough will be as soft, or if it will last as long. But, as a matter of fact, you can achieve amazing results with just a few basic items you probably already have. This homemade playdough, you see, turns out super soft, easy to make, and it lasts for months! It's quite amazing how simple it is to put together.
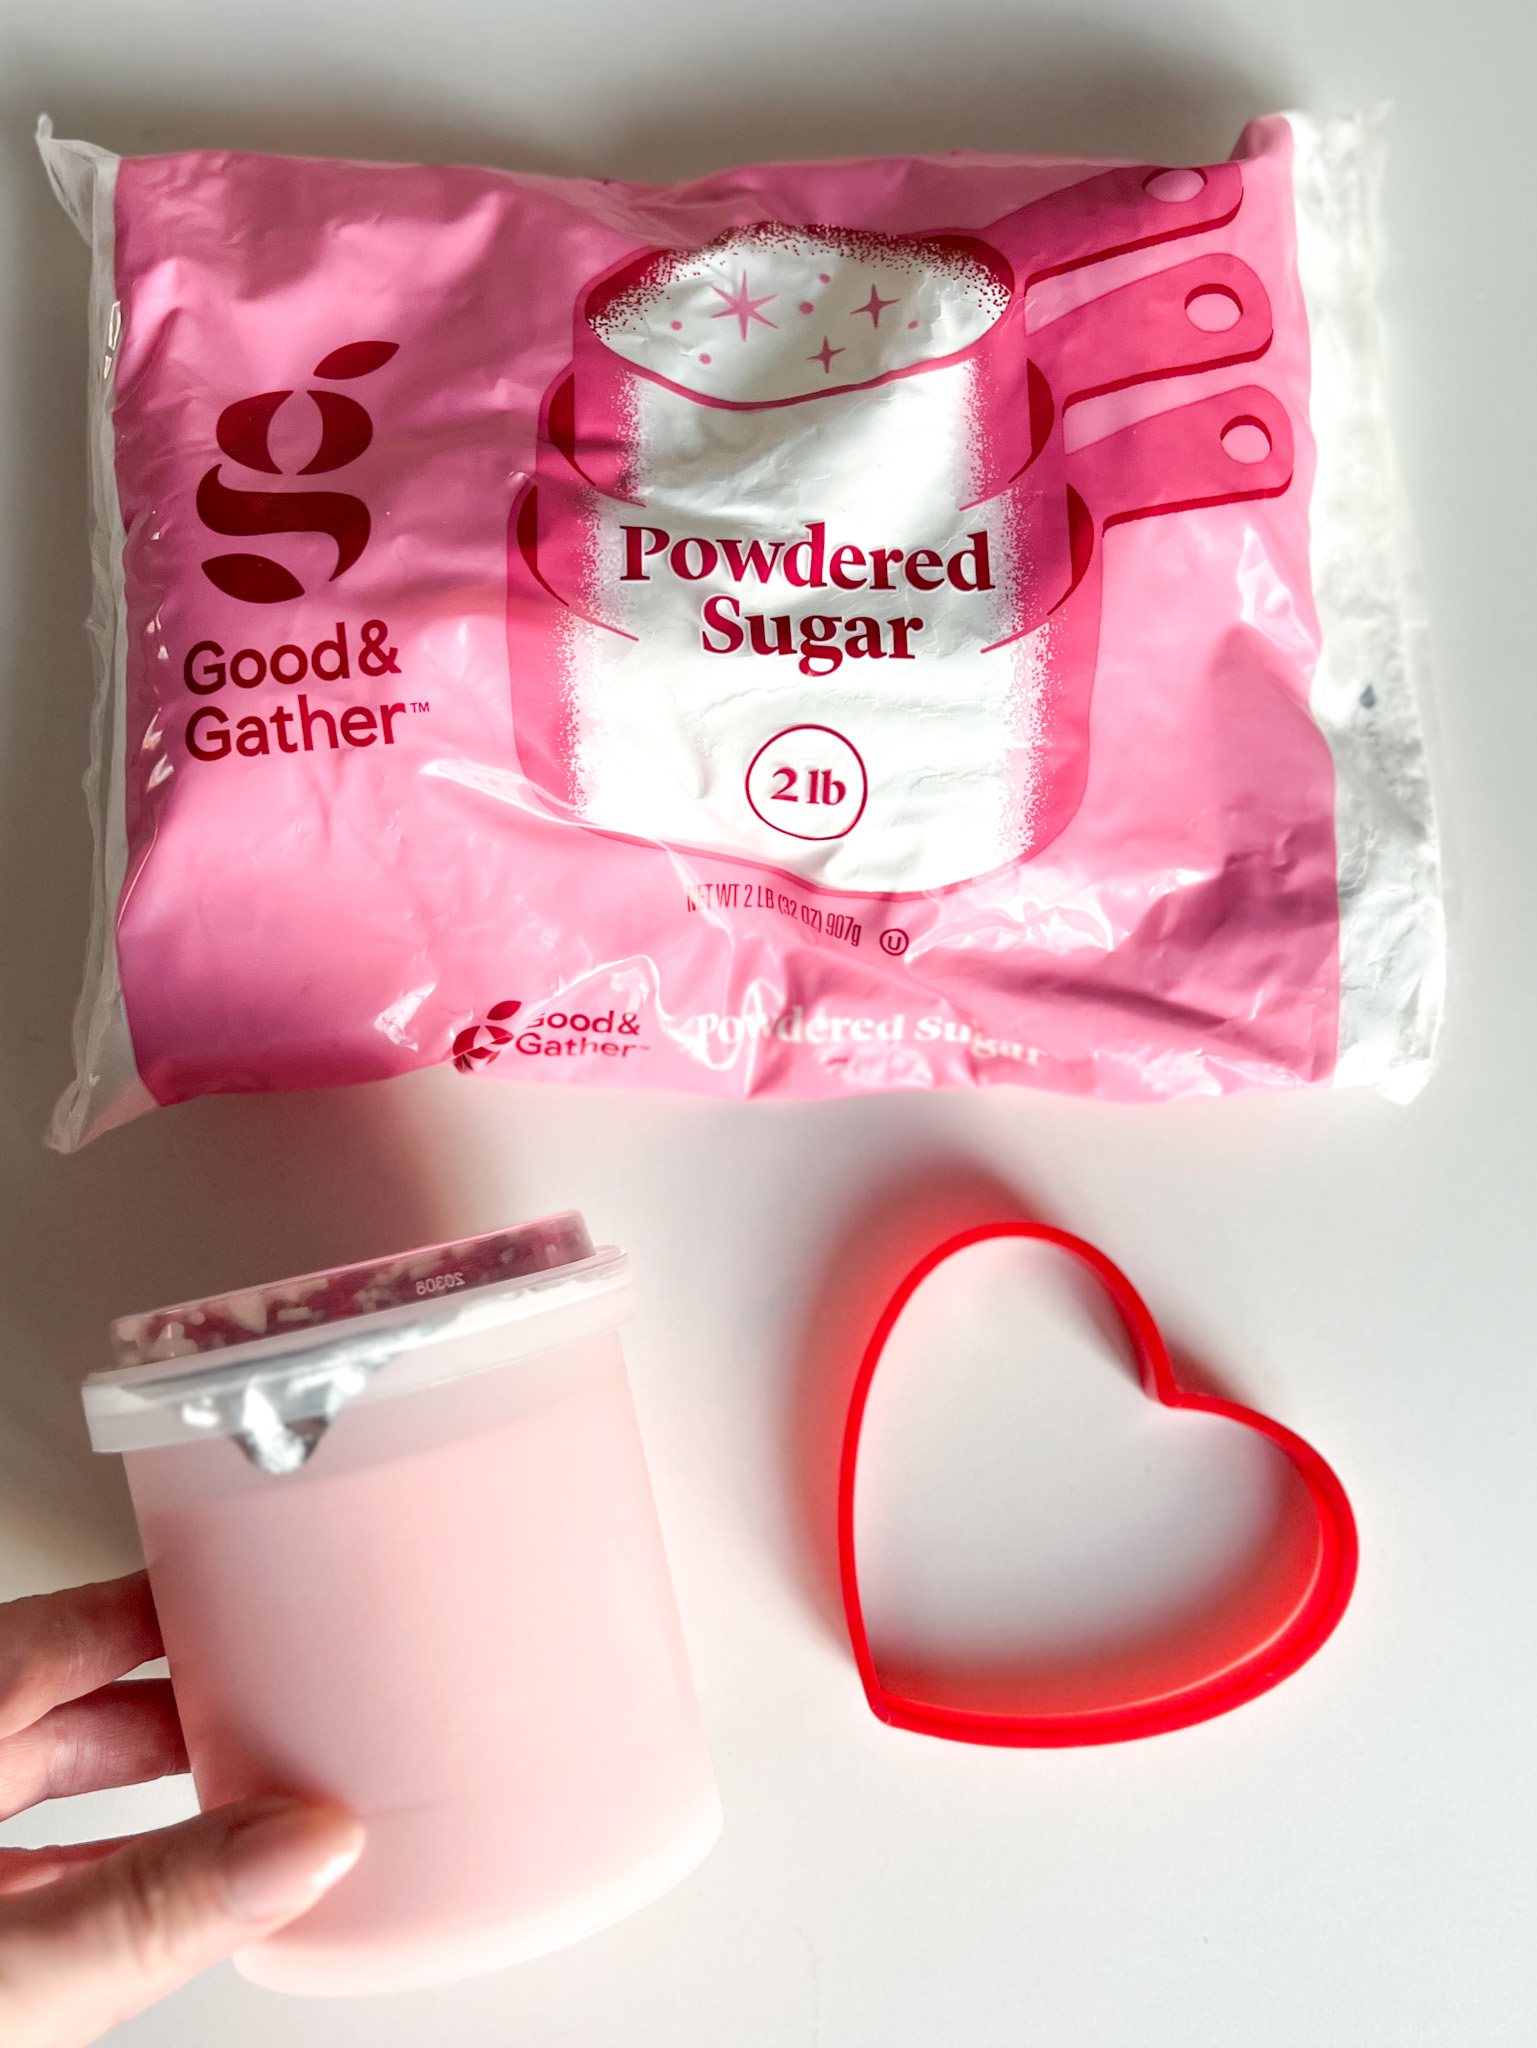
This homemade playdough recipe is simple, affordable, and perfect for an activity with the kids. With just a few pantry staples, you can create soft, colorful dough that’s safe and ready for play. It is so soft and squishy and cuts perfectly with cookie cutters. This homemade playdough recipe is soft, squishy, and so fun to play with. Best of all, it's super easy and inexpensive to make. Make easy homemade playdough without cream of tartar and only 4 ingredients, and you'll be set for a while.
Table of Contents
- Why Make Playdough Without Cream of Tartar?
- The Magic Ingredients: What You Will Need
- Simple Steps to Homemade Playdough Bliss
- Troubleshooting Common Playdough Problems
- Keeping Your Playdough Fresh
- Fun Ways to Play with Homemade Dough
- Frequently Asked Questions About Homemade Playdough
- Start Making Your Own Today!
Why Make Playdough Without Cream of Tartar?
You might wonder why some recipes call for cream of tartar and why others don't. Cream of tartar, you know, helps give playdough its smooth texture and also helps it last longer. It's an acid that works with baking soda to create a nice consistency. However, it's not always something people keep in their pantry. For some, it's about convenience; for others, it's about using what they have right now.
This recipe, without that particular ingredient, still gives you that wonderful, soft, and squishy dough. It's just as delightful to handle as store-bought versions, or even better, in some respects. So, if you're looking for a quick and easy solution without a trip to the store, this is your answer. It's a rather practical choice for a spur-of-the-moment craft session.
Also, sometimes people have sensitivities or just prefer to use fewer ingredients. This simpler approach means fewer things to worry about, and more time for play. It’s a pretty straightforward way to get to the fun part. The dough feels soft and squishy like bread dough, or one of those stress balls, or a squashmallow toy, which is a big plus for little hands.
The Magic Ingredients: What You Will Need
The beauty of this playdough recipe is how few ingredients it takes. You'll likely find these items in your kitchen already, which makes getting started super fast. So, gather these simple things, and you'll be on your way to soft, colorful dough in no time at all. It's genuinely just a handful of pantry staples.
- All-Purpose Flour: About 2 cups. This is the main body of your dough, giving it structure.
- Salt: About 1 cup. Salt helps preserve the dough and also adds to its texture. It's quite important for longevity.
- Water: Around 1 cup of warm water. Warm water helps dissolve the salt and mix everything together smoothly.
- Vegetable Oil: Roughly 2 tablespoons. This makes the dough incredibly soft and prevents it from sticking. It's what gives it that lovely pliable feel.
- Food Coloring (Optional): A few drops. For vibrant, fun colors! You can make different batches for a rainbow of choices.
That's it! Just four main ingredients, plus color if you wish. It’s really quite amazing how something so simple can create such a wonderful plaything. You might even have these items in your kitchen right now, which is pretty convenient.
Simple Steps to Homemade Playdough Bliss
Making this playdough is a straightforward process, honestly. You don't need any special skills, just a little patience and a willingness to mix things up. Follow these steps, and you'll have perfect playdough in about ten minutes. It's a quick project that yields big smiles.
Getting Ready Your Materials
First, grab a medium-sized saucepan. This is where all the magic happens. Make sure it's clean and ready for mixing. You'll also want a sturdy spoon for stirring, something that can handle thick dough. A wooden spoon often works very well.
Measure out your dry ingredients: the flour and the salt. Put them into the saucepan. Give them a quick stir to combine them well. This helps prevent lumps later on, you know. It's a small step that makes a difference.
Mixing and Cooking
Now, add the warm water and the vegetable oil to the dry ingredients in the saucepan. If you're using food coloring, add a few drops now. Stir everything together until it starts to form a sticky ball. It might look a little messy at first, but that's part of the process.
Place the saucepan over medium heat on your stove. Keep stirring constantly. This is key to preventing the dough from sticking to the bottom and burning. You'll notice the mixture getting thicker and thicker. It will start to pull away from the sides of the pan, forming a solid ball. This usually takes just a few minutes, so stay with it.
Once the dough forms a ball and looks like it's mostly cooked through, with no wet spots, take it off the heat. It should look like a soft, somewhat lumpy ball. It's important not to overcook it, or it could become crumbly.
The Kneading Process
Carefully remove the hot dough from the pan and place it on a clean surface, like a cutting board or a piece of parchment paper. Be careful, as it will be quite warm. Let it cool for a minute or two until it's comfortable to touch.
Now comes the fun part: kneading! Knead the dough for about 5 to 10 minutes. This step is super important for getting that wonderfully soft, smooth texture. It helps distribute the oil and makes the dough pliable. The more you knead, the softer and more elastic it will become. It's almost like a little workout for your hands.
If the dough feels a little sticky, you can add a tiny bit more flour, just a pinch at a time, while you knead. If it feels too dry, add a tiny bit more oil. You'll know it's ready when it feels silky smooth and doesn't stick to your hands.
Adding Color and Scent
If you didn't add food coloring during the cooking process, or if you want to make different colors from one batch, you can do it now. Divide the dough into smaller portions. Make a little well in each portion and add a few drops of food coloring. Knead it again until the color is fully mixed in.
For extra sensory fun, you could add a few drops of essential oils (like lavender for calming play) or even a sprinkle of spices like cinnamon or vanilla extract during the kneading process. This makes the playdough smell delightful and adds another layer to the play experience. Just a little bit goes a long way.
Troubleshooting Common Playdough Problems
Sometimes, things don't go exactly as planned, and that's perfectly okay. Homemade playdough can be a little finicky until you get the hang of it. Here are some common issues and how to fix them, so you can always have the best playdough experience.
- Too Sticky: If your dough is too sticky, it likely needs a little more cooking time. Put it back on very low heat and stir constantly for another minute or two. You can also knead in a tiny bit more flour, a very small amount at a time, until it reaches the right consistency.
- Too Dry or Crumbly: This happens if it was cooked too long or if there wasn't enough oil. Knead in a teaspoon of oil at a time until it becomes soft and pliable again. You might be surprised how much a little oil can help.
- Lumpy: Lumps usually mean the dry ingredients weren't mixed well enough at the start, or it wasn't kneaded enough. Keep kneading! The warmth from your hands and the continuous movement will help smooth out most lumps over time.
- Color Not Even: If your color looks streaky, just keep kneading. It takes a bit of work to distribute the color evenly throughout the dough, especially if you added it after cooking.
Remember, making playdough is a bit of an art, and you learn as you go. Don't be afraid to adjust things slightly. It's all part of the fun, and you'll get better with practice, you know.
Keeping Your Playdough Fresh
One of the best things about this homemade playdough is how long it lasts. With proper care, it can stay soft and squishy for several months. This means more playtime and less waste, which is pretty great.
- Airtight Container: The most important thing is to store your playdough in an airtight container or a sealed plastic bag. Air is the enemy of soft playdough!
- Cool, Dry Place: Keep it in a cool, dry place, like a pantry or a cupboard. Avoid direct sunlight or very warm spots, as this can dry it out faster.
- Reviving Dry Dough: If your playdough feels a little dry after a while, don't throw it out! You can often revive it by kneading in a few drops of water or a tiny bit of vegetable oil. Just add a little at a time until it softens up again.
- Check for Mold: While this recipe lasts a long time, always check for any signs of mold before play, especially if it's been stored for many months. If you see any, it's best to make a new batch.
Following these simple storage tips will help you enjoy your homemade playdough for a very long time. It's quite satisfying to have it ready whenever the mood for creative play strikes.
Fun Ways to Play with Homemade Dough
Once you have your beautiful, soft, homemade playdough, the possibilities for play are nearly endless. Playdough is soft and squishy like bread dough, one of those stress balls, or a squashmallow toy, making it wonderful for little hands to manipulate. It’s not just about squishing; there's so much more.
- Cookie Cutters: As mentioned, it cuts perfectly with cookie cutters! This is a classic playdough activity. Kids love pressing out shapes and creating little scenes.
- Rolling Pins and Tools: Provide small rolling pins, plastic knives, and other playdough tools. These help develop fine motor skills and hand-eye coordination.
- Imaginative Play: Encourage kids to make food, animals, or even little characters. Playdough is a fantastic prop for storytelling and imaginative adventures.
- Sensory Bin Addition: Add playdough to a sensory bin with dried beans, rice, or small toys. This adds another layer of texture and exploration.
- Learning Letters and Numbers: Use playdough to form letters, numbers, or simple shapes. This can be a fun, hands-on way to practice early learning concepts.
The beauty of playdough is its open-ended nature. There's no right or wrong way to play, which fosters creativity and self-expression. It’s a wonderful activity for kids of all ages, honestly.
Frequently Asked Questions About Homemade Playdough
People often have questions when they're making playdough at home, especially when trying a new recipe. Here are some common inquiries that come up, and some helpful answers for you.
Is homemade playdough safe for toddlers who might put it in their mouths?
This recipe uses common food-grade ingredients like flour, salt, water, and oil. So, it's generally considered safe if a small amount is accidentally ingested. However, it's not meant for eating. The high salt content would make it taste quite bad, and too much salt is not good for anyone, especially little ones. Always supervise young children during play to be safe. You can learn more about sensory play activities on our site, which often includes discussions on material safety.
How long does this playdough recipe without cream of tartar typically last?
When stored correctly in an airtight container, this homemade playdough is super soft, easy to make, and lasts for months! Many people find it stays fresh and pliable for at least three to six months. The salt in the recipe helps with preservation. Just remember to keep it sealed tightly to prevent it from drying out.
Can I make this playdough without cooking it?
This particular recipe does involve a cooking step, which helps to combine the ingredients thoroughly and create that wonderful, smooth, non-sticky texture. There are no-cook playdough recipes out there, but they often rely on different ingredients or methods to achieve a similar result. For this specific recipe, the cooking process is pretty important for its texture and longevity. If you're looking for other easy craft ideas, you might find inspiration on our craft ideas page.
Start Making Your Own Today!
Making your own playdough without cream of tartar is genuinely simple, affordable, and perfect for an activity with the kids. With just a few pantry staples, you can create soft, colorful dough that’s safe and ready for hours of creative fun. It's so soft and squishy and cuts perfectly with cookie cutters. This homemade playdough recipe is soft, squishy, and so fun to play with. Best of all, it's super easy and inexpensive to make. Make easy homemade playdough without cream of tartar and only 4 ingredients, and you'll be giving your children a delightful sensory experience. The perfect combination of salt, flour, and oil means the dough doesn’t ever get too sticky if you follow the steps. So, why not give it a try this afternoon? It's a fantastic way to bring a little bit of creative joy into your home.
For more creative ideas and recipes, you could always look at resources like The Spruce Crafts for inspiration.