Giving a present to someone you care about feels good, doesn't it? You pick out something special, something you hope they will truly like. But, you know, the way a gift looks before it is even opened can make a big difference, setting the mood for the whole experience. It is a little bit like getting ready for a big party; the decorations make it feel more exciting, right from the start. That first look at a wrapped item, before anyone even touches the ribbon, really does count for a lot.
A simple piece of paper, shaped just so, can turn an ordinary package into something that looks quite special. This little decoration, a wrapping paper bow, adds a certain flair, a finishing touch that speaks volumes without saying a word. It shows you put thought into the whole presentation, not just the item inside. You see, it is about making the act of giving a little more memorable, a little more personal for the person receiving it.
Making one of these paper decorations is, in a way, simpler than you might think. It does not require a lot of fancy tools or special skills. With just a few bits of paper and a little patience, you can create something that adds a lot of visual interest to any gift. It is a small detail, certainly, but it is one that can leave a lasting impression, making the moment of receiving a present feel even more joyful, you know?
Table of Contents
- Why Add a Wrapping Paper Bow to Your Presents?
- What Materials Make the Best Wrapping Paper Bow?
- How Can You Craft a Simple Wrapping Paper Bow?
- Making Your Wrapping Paper Bow Stand Out
- What Common Missteps Should You Watch Out For When Making a Wrapping Paper Bow?
- Giving Your Wrapping Paper Bow a Personal Flair
- The Joy of a Thoughtful Wrapping Paper Bow
Why Add a Wrapping Paper Bow to Your Presents?
You might wonder, why bother with a little paper decoration on a gift? Well, honestly, it is about more than just looks. A present with a carefully made wrapping paper bow just feels different, doesn't it? It has a certain completeness, a polished appearance that plain wrapping just does not have. This small addition can, in a way, turn a simple package into something that feels like a true gift, something special someone took the time to prepare. It is like the cherry on top of a sundae; it just makes the whole thing look more appealing, so to speak.
When someone receives a present that has a nice bow, it shows them you put extra care into their item. It is a sign of thoughtfulness, a little message that says, "I thought about you and wanted this to be just right." This kind of attention to small things can really make a person feel valued, you know? It elevates the whole act of giving from a simple exchange to a moment of genuine connection. The bow, in essence, becomes a part of the present itself, a part of the warm feeling you are sending along with it, pretty much.
A wrapping paper bow also creates a sense of expectation, a little bit of mystery and excitement. Before the paper is torn away, the bow serves as a visual cue that something good is inside. It builds anticipation, making the unwrapping process a more delightful event. It is a tiny bit of artistry that prepares the recipient for the joy of what is to come. And really, that feeling of happy expectation is a gift in itself, right?
What Materials Make the Best Wrapping Paper Bow?
Picking the right paper for your bow is, actually, a pretty big part of how it will turn out. Not all paper is the same, of course. Some types hold their shape better, while others might be too thin or too stiff. You want something that is easy to fold and crease, but also has enough body to keep its form once you have shaped it into loops. The paper's texture and pattern can also play a role in the overall look of your wrapping paper bow, like. A glossy paper might give a different feel than a matte one, or a patterned paper might add a fun touch that a plain one would not.
Choosing Paper for Your Wrapping Paper Bow
When you are picking paper for your wrapping paper bow, think about the weight of the paper. Thicker papers, sometimes called cardstock or heavier craft paper, tend to make bows that are more sturdy and hold their shape well. They give a more substantial look, which can be good for bigger presents or if you want the bow to be a real focal point. However, they can be a little harder to fold cleanly, so you might need to press your creases firmly. It is a bit of a balancing act, you see.
On the other hand, lighter wrapping papers are easier to work with, especially for smaller bows or if you want a more delicate appearance. They fold smoothly and can create very neat, crisp loops. The challenge with these lighter papers is that they might not keep their shape as well over time, or they could tear more easily if you are not careful. So, you have to consider what kind of look you are going for and how much handling the bow will experience. Sometimes, a slightly textured paper can also add interest without being too heavy, which is nice.
Color and pattern are also, you know, really important considerations. You might want your wrapping paper bow to match the gift wrap exactly, creating a seamless, coordinated look. Or, perhaps, you want it to stand out, using a contrasting color or a bold pattern to make it pop. If the gift wrap has a busy design, a plain bow might be best to avoid too much visual noise. Conversely, a plain wrapped gift might benefit from a bow with a fun print. It is all about what feels right for the particular present and the person receiving it, more or less.
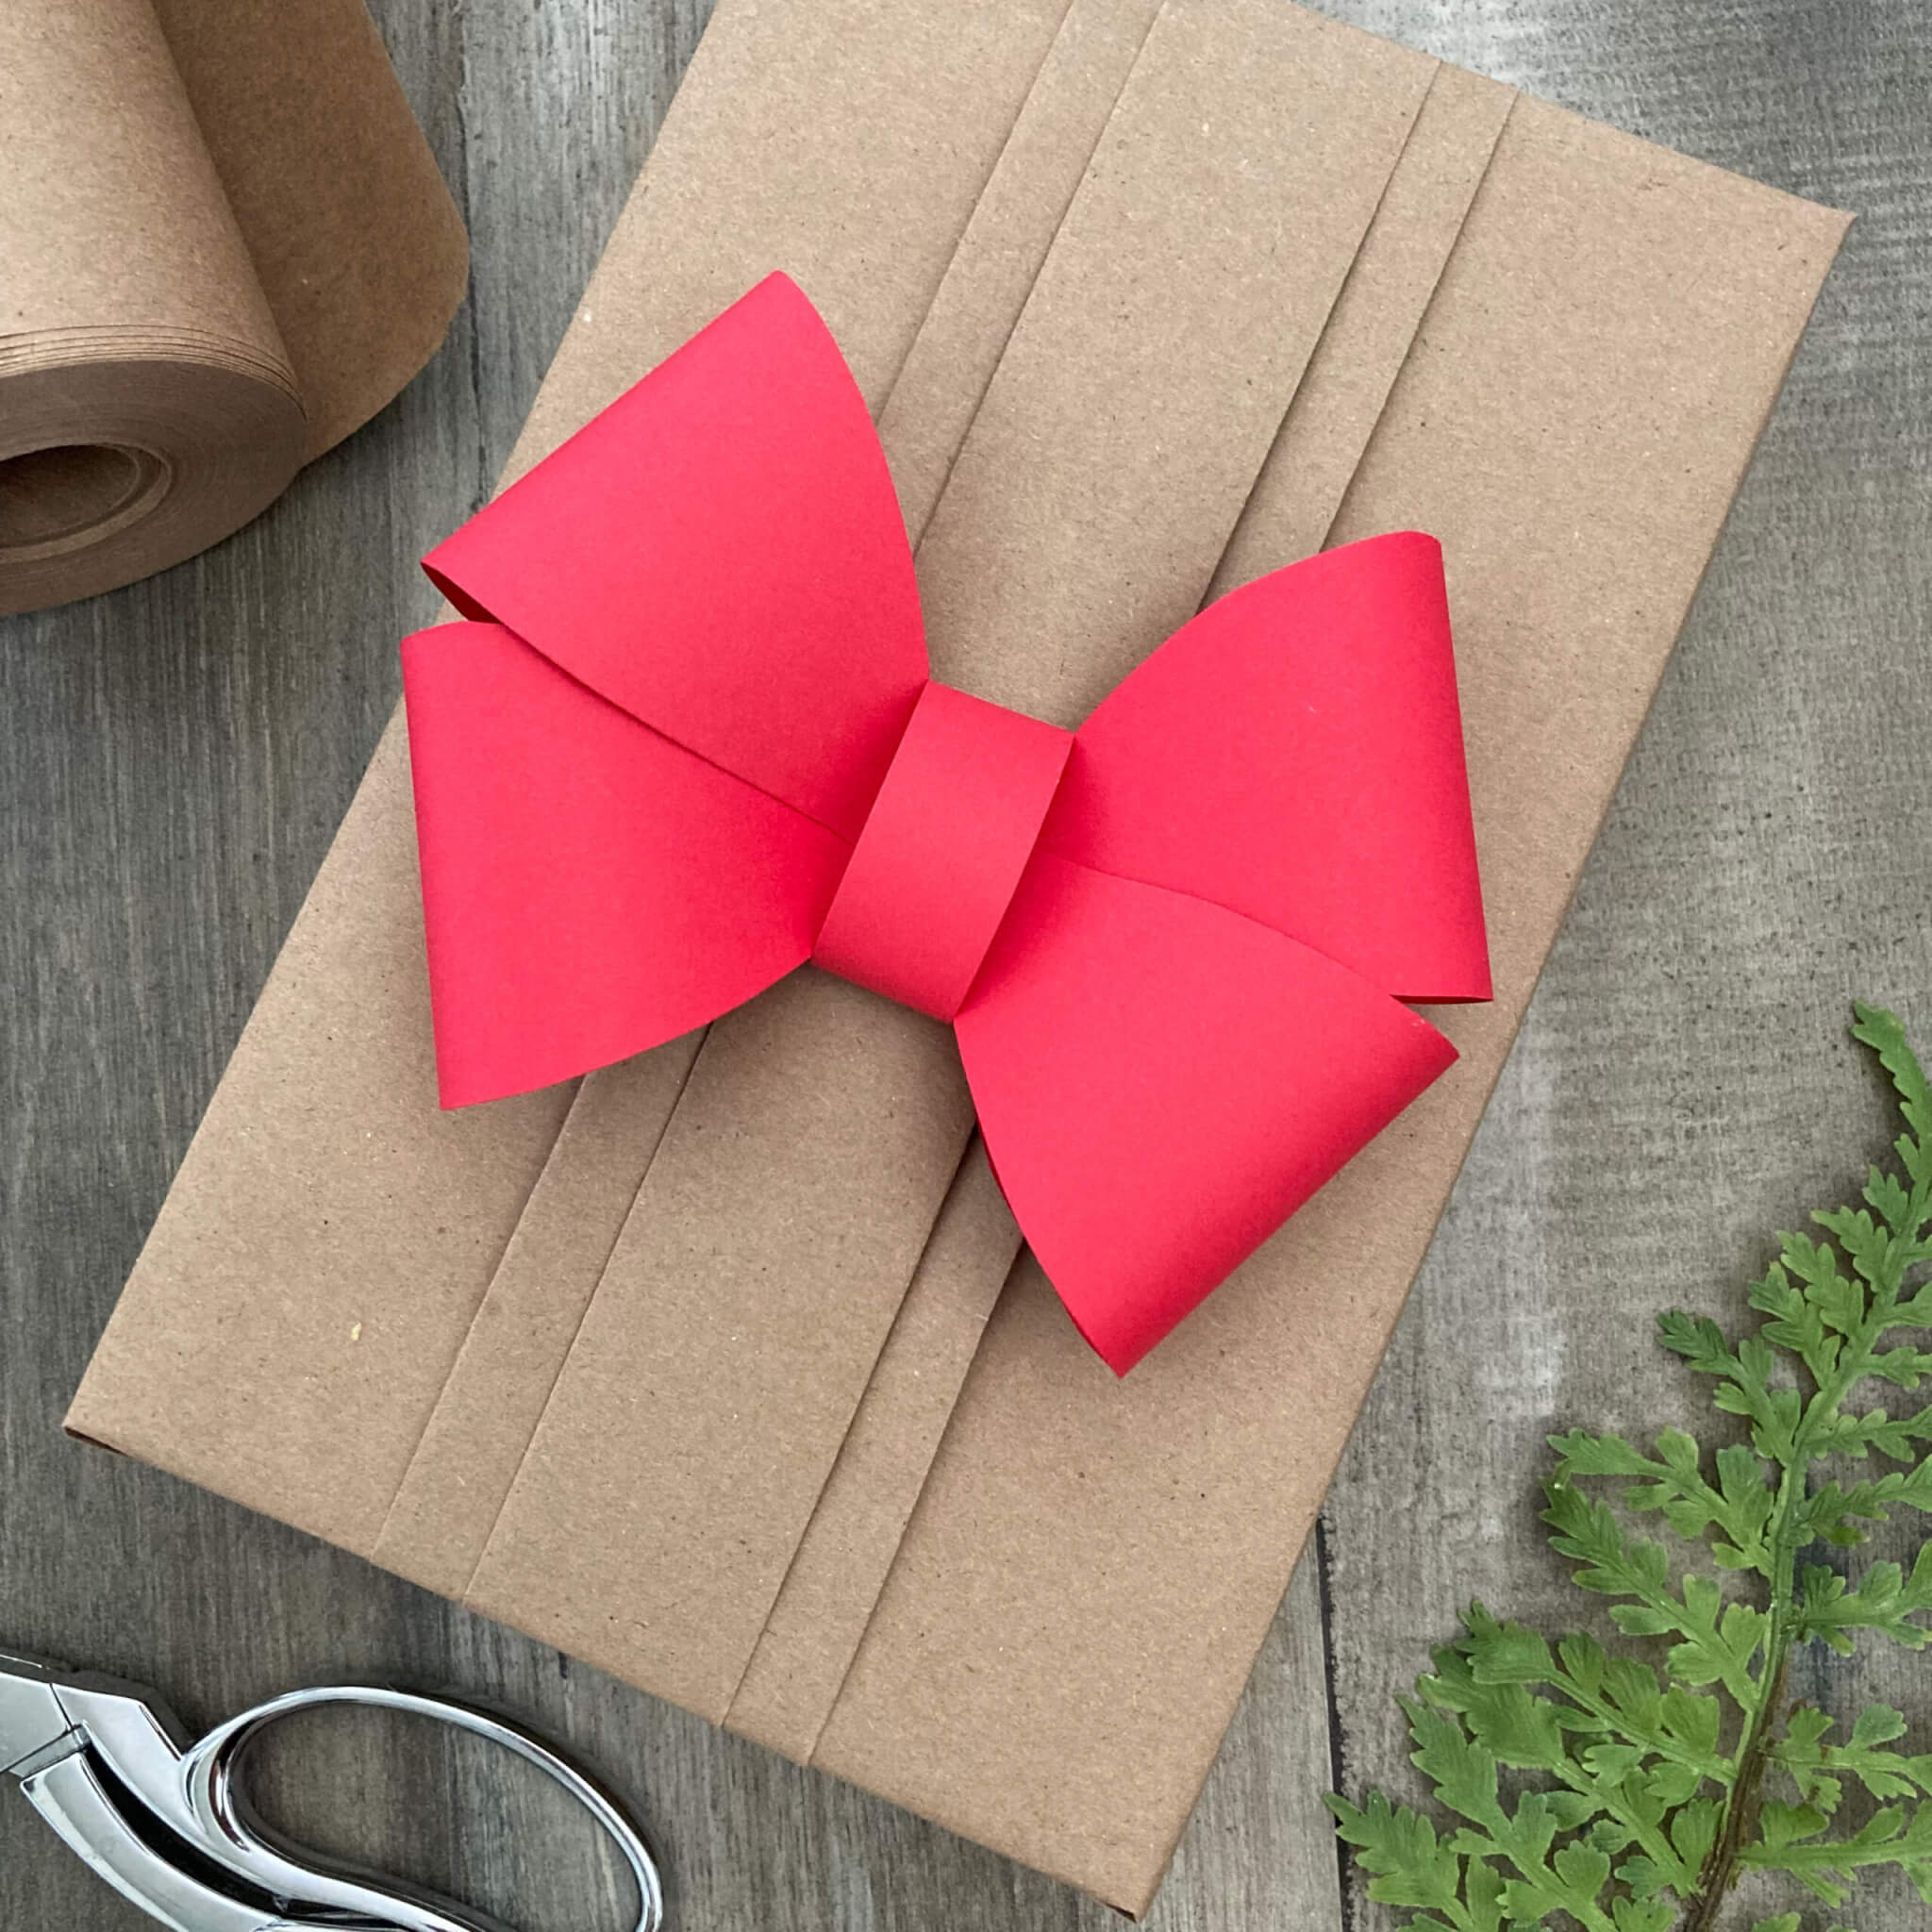
How Can You Craft a Simple Wrapping Paper Bow?
Making a basic wrapping paper bow is, honestly, not as tricky as it might seem at first glance. You just need some paper, a pair of scissors, and maybe a bit of tape or glue to hold things together. The simplest way often involves cutting strips of paper and forming them into loops. You can start with a few strips of the same length, then make a loop with each one, bringing the ends together to meet in the middle. You then secure these loops at their center, building up the bow layer by layer. It is a pretty straightforward process, you know?
Once you have a few loops, you can arrange them in a circular pattern, making sure they are evenly spaced around a central point. You might want to make one or two loops slightly shorter than the others to create different levels within the bow, giving it a bit more dimension. Then, you secure all these loops together at their meeting point. This can be done with a small piece of tape on the back, or a dab of craft glue. Some people even use a stapler for a really firm hold, which is certainly an option. The key is to keep things neat and symmetrical for a pleasing final shape, actually.
To finish it off, you can add a small circle of paper to cover the center where all the loops meet. This gives your wrapping paper bow a tidy, finished look and hides any tape or staples. You can even cut little V-shapes into the ends of any trailing ribbon-like pieces to make them look more decorative. It is all about those small touches that make a big difference in the presentation. And with a little practice, you will find yourself making these without even thinking about it, so.
Are There Many Kinds of Wrapping Paper Bow Styles?
Yes, there are quite a few ways you can make a wrapping paper bow, each giving a slightly different feel to your gift. The basic looped bow is a good start, but you can also try things like flat bows, which lay almost flush against the package, or layered bows that have many different sizes of loops stacked on top of each other. Some people even create fan-shaped bows, where strips of paper are folded back and forth like an accordion and then fanned out. It is pretty cool how much variety you can get from just paper, truly.
Exploring Different Wrapping Paper Bow Looks
For a flat wrapping paper bow, you might use wider strips of paper and simply fold them into a simple, flat loop, then secure it. These are great when you want a clean, understated look, or if the gift needs to be stacked easily. They do not add much bulk, which can be really handy for mailing presents, for instance. You can also make a series of smaller, flat loops and arrange them in a pattern, like overlapping scales, to create a textured effect. It is a more modern take on the traditional bow, you know?
Layered bows, on the other hand, give a much more dramatic and full appearance. You make several sets of loops, each set a little smaller than the last. Then, you stack them up, from largest on the bottom to smallest on top, securing them all at the center. This creates a very lush, almost flower-like wrapping paper bow that really stands out. You can use different colors or patterns for each layer to add even more visual interest. It is a bit more involved, certainly, but the result is often worth the extra effort, honestly.
The fan bow, or rosette style, is another fun option. For this, you take a long strip of paper and fold it back and forth, like you are making a paper fan. Once it is all folded, you pinch the center and fan out the two ends, creating a lovely, pleated circle. You then secure the center and attach it to your gift. This kind of wrapping paper bow has a very unique texture and can look quite elegant, especially if you use a paper with a subtle sheen. It is a nice way to add a different kind of flair to your gift presentation, really.
Making Your Wrapping Paper Bow Stand Out
To make your wrapping paper bow look its best, a few simple tricks can make a big difference. One key thing is to make sure your cuts are clean and straight. Using a good, sharp pair of scissors helps a lot with this. Crooked edges can make even the most perfectly folded bow look a little messy. Also, when you are creasing your paper, press firmly and evenly. A crisp fold helps the loops hold their shape and gives the whole bow a more professional, finished appearance. It is these small details that really add up, so.
Another tip is to think about the tension as you are forming your loops. You want them to be firm enough to stand up, but not so tight that the paper tears or wrinkles. It is a bit of a feel thing, but you will get the hang of it pretty quickly. If you are using tape to secure the center, try to use small pieces and place them where they will be hidden by other loops or by the central cover piece. This keeps the look clean and tidy, which is always a good thing, you know?
Sometimes, a little bit of strategic shaping after the bow is assembled can also help. Gently fluff out the loops, or slightly curl the ends of any trailing pieces with the edge of a scissor blade. This adds volume and movement to your wrapping paper bow, making it look more dynamic and less flat. It is about coaxing the paper into its most pleasing form, giving it a bit of life. These little adjustments can really make a simple bow look quite spectacular, actually.
What Common Missteps Should You Watch Out For When Making a Wrapping Paper Bow?
Even with simple projects, there are often little things that can go wrong, and making a wrapping paper bow is no different. One common issue is using paper that is either too flimsy or too stiff. Flimsy paper might tear easily when you are trying to fold it or it might not hold its shape once you have made the loops. Stiff paper, on the other hand, can be hard to crease neatly, leading to a bow that looks a bit bulky or uneven. Picking the right paper from the start can save you a lot of frustration, you know?
Avoiding Common Wrapping Paper Bow Troubles
Another thing to watch out for is uneven loops. If your loops are not all the same size, or if they are not arranged symmetrically, your wrapping paper bow can look lopsided. Take your time to measure your strips of paper and to make sure each loop is formed consistently. It is better to go slowly and be precise than to rush and end up with something that just does not look quite right. Patience really helps here, honestly.
Using too much adhesive, whether it is tape or glue, can also be a problem. If you use too much glue, it might seep out and make the paper look messy, or it might make the bow too rigid. Too much tape can be visible and detract from the overall appearance. Try to use just enough to secure the pieces firmly, and place it discreetly. A small, well-placed dot of glue or a tiny strip of double-sided tape often does the trick without being noticeable, pretty much.
Finally, sometimes people try to make a bow that is too big for the gift. A giant wrapping paper bow on a tiny box can look a bit overwhelming, kind of. Similarly, a tiny bow on a very large present might get lost. Think about the size of your gift and try to make a bow that is in proportion to it. A well-proportioned bow complements the gift rather than competing with it, making the whole presentation look harmonious. It is a simple thought, but it makes a big difference, you see.
Giving Your Wrapping Paper Bow a Personal Flair
Making your wrapping paper bow truly unique is, honestly, one of the most enjoyable parts. You can do so much to add your own personal touch. For instance, instead of using just one color of paper, try mixing two or three different shades that go well together. You could use one color for the main loops and another for the smaller, inner loops, or even alternate colors in a layered bow. This adds a lot of visual interest and makes the bow feel custom-made, so to speak.
You might also think about adding small embellishments. Little beads, sequins, or even a tiny sprig of dried flowers can be glued to the center of your wrapping paper bow to give it a bit of sparkle or a natural feel. If you are feeling extra creative, you could even draw small patterns or write a tiny message on the paper strips before you form them into loops. These little details show that you really put thought into the presentation, making the gift even more special for the person receiving it, you know?
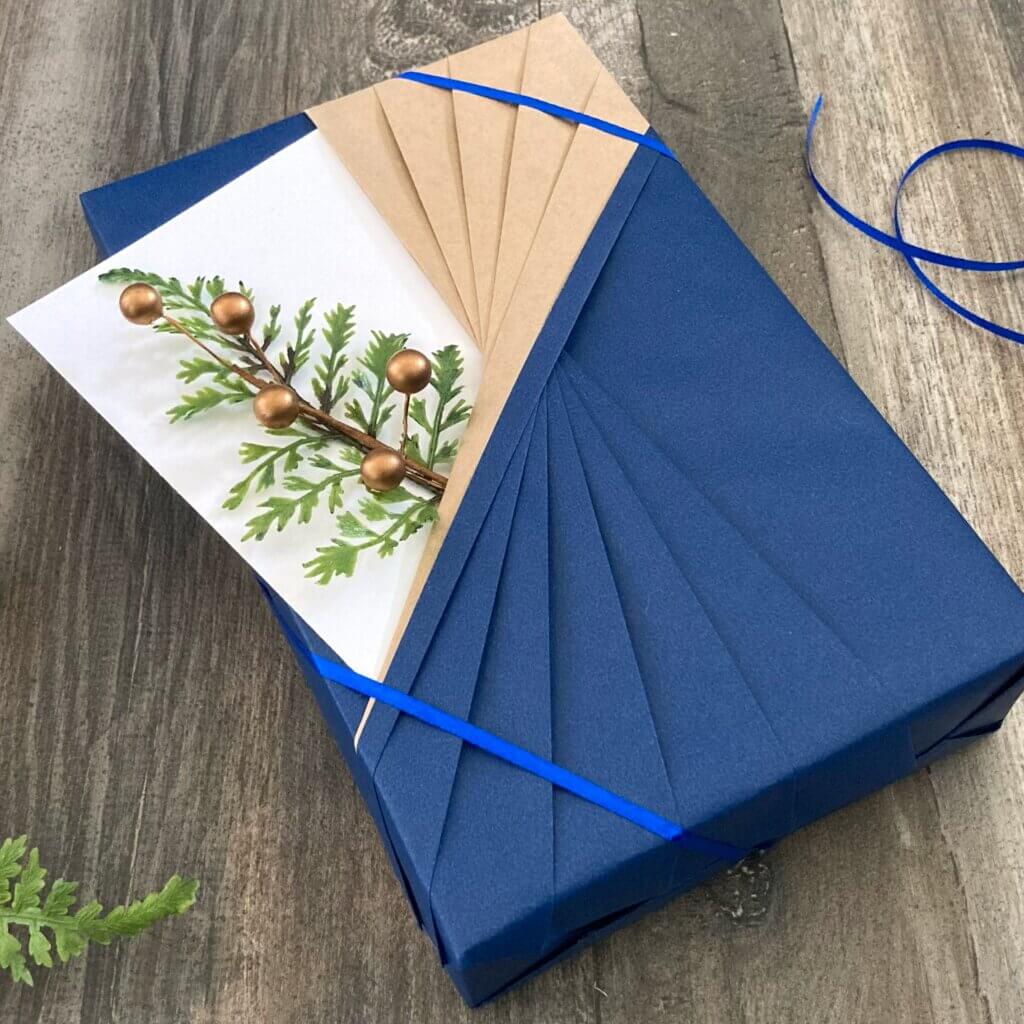
Consider the occasion, too. For a birthday, you might use bright, cheerful colors and perhaps some glitter. For something more formal, a monochromatic bow with a subtle texture could be just the thing. The season can also inspire your choices; think about warm, earthy tones for autumn, or crisp whites and silvers for winter. Matching your wrapping paper bow to the event adds another layer of thoughtfulness and makes the whole package feel even more fitting, truly.
The Joy of a Thoughtful Wrapping Paper Bow
There is a quiet happiness that comes from giving a present that looks really good. When you have spent time making a wrapping paper bow, it is not just about the paper and the folds; it is about the care you put into it. That